How to Unclog a Gutter

How to Unclog a Gutter

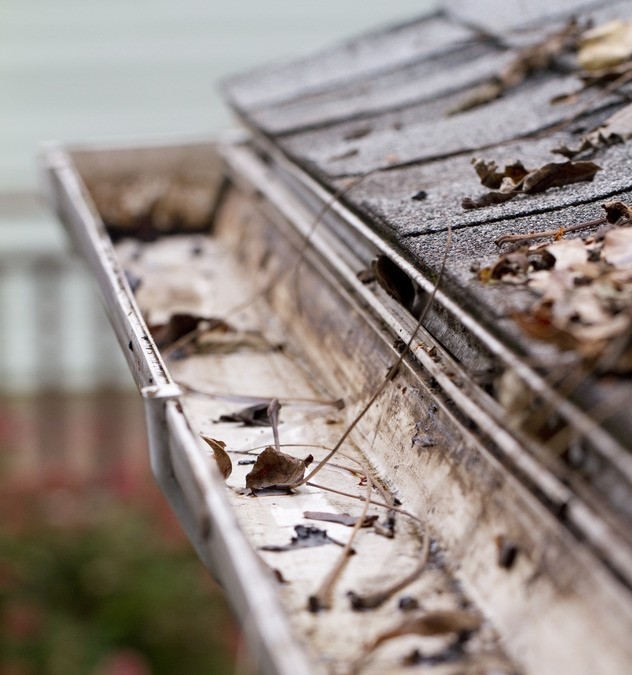
Is My Gutter Clogged?

When it rains, here are the telltale signs of a clogged gutter:

  • Water spills over the edges of a gutter.
  • Water sprays like a fountain from gutter seams and elbow joints.
  • Water doesn’t flow out the bottom of downspout extensions.

If it’s not raining, look for these telltale signs:

  • Eroded earth directly below a gutter.
  • Peeling paint on siding and fascia.
  • Wet, moist, or dirty siding beneath the gutter.
  • Gutters pulling away from the fascia (likely caused by excessive weight).

Where’s the Gutter Clogged?

The downspout cage, a wire strainer designed to trap debris while allowing water to flow through, is located where the downspout intersects the gutter. Often, this item is bent or out of place.

Gutter hangers and spikes often slip free from the fascia, landing in the gutter. These obstructions catch leaves and twigs, causing clogs.

Downspout elbows and seams are likely spots for clogs, too. Working your way down from the gutter, tap the outside of the downspout with a screwdriver and listen for a dull thud (as opposed to hollow ring). This will indicate the location of the clog.

If you still haven’t identified the location of the clog — and you have downspouts that descend below ground level — then the clog likely is in an underground pipe.

How to Unclog a Gutter

If the clog occurs at the downspout cage:

1. Remove and clean it.
2. Remove all the accumulated debris in the gutter.
3. If the cage is in good shape, firmly re-seat it into the downspout hole.
4. If the cage is damaged or missing, replacement screens cost just a few bucks.

If the clog is caused by loose hangers or spikes:

1. Clean debris from clogs.
2. Reposition or repair the gutter supports.

If the clog occurs at an elbow or seam — and you can reach it from above:

1. Try to free the obstruction with a stick, plumbing snake, or pressure washer outfitted with a telescoping wand.
2. If you can’t reach it, simply disassemble the downspout and remove the clog.

If the clog is below-grade, it’s the most difficult to clear, and may require excavation. But before that:

1. Remove the downspout where it enters the ground and try to clear the clog using a plumbing snake.
2. Turn on a garden hose and force it into the underground portion of the line; the water pressure may dislodge the clog.

By: Douglas Trattner: Copyright 2015 NATIONAL ASSOCIATION OF REALTORS®

Quick Guide to Bathtub Options

Quick Guide to Bathtub Options

Types of Tubs

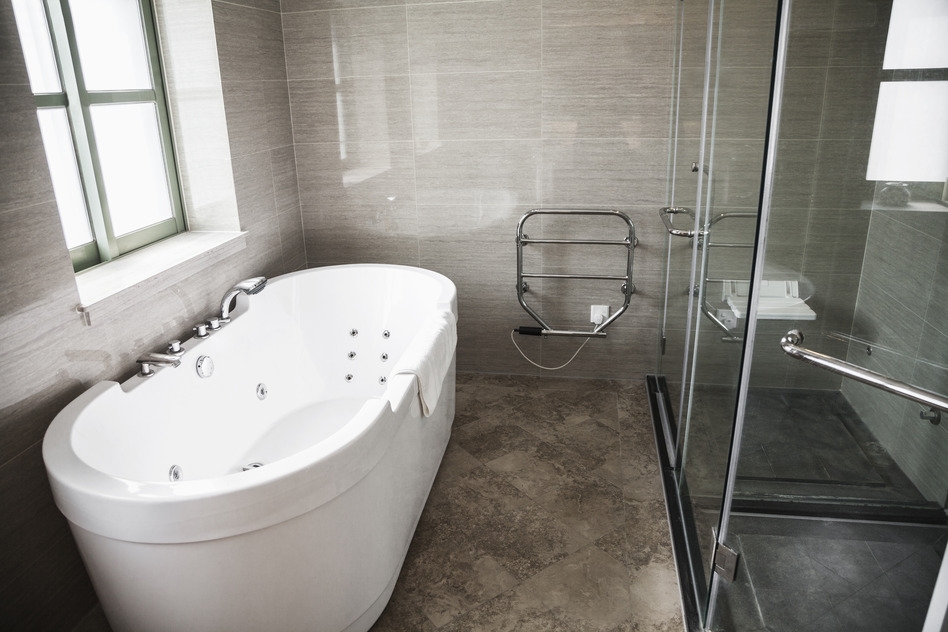
  • Alcove: This bathtub is the most common style and has only one finished side. It’s made to fit into a typical three-sided alcove that’s about 5 feet wide and 30-36 inches from front to back. Often, it’s part of a tub-shower combination. Cost: $300 to $2,000.
  • Drop-in: Supported on all sides by its rim, this tub might be inserted into a raised platform or installed below floor level. Cost: $800 to $2,000.
  • Freestanding: This type of tub occupies a space all its own, often as a centerpiece of the bathroom. Clawfoot tubs or tubs with bases fit into this category, as do more stylized options such as copper soaking tubs. Cost: $2,000 to $6,000.
  • Corner: These tubs are designed to fit into the corner of the bathroom and usually aren’t very spacious because of their triangular shape. More often than not, a corner tub is the only option for a small bathroom. Cost: $800 for basic model.

What’s It Made Of?

  • Acrylic: About 90% of bathtubs sold are made of acrylic, with good reason. Acrylic is lightweight, which makes installation easy. Acrylic is resistant to chipping and cracking, and the non-staining, non-porous surface is easy to clean. Many color options are available.
  • Fiberglass: Often acrylic tubs are reinforced with fiberglass, but gel-coated fiberglass is not as common as it was 15 years ago. It’s inexpensive, but it scratches easily and is impossible to repair if chipped.
  • Cast iron: Porcelain-coated, cast-iron tubs are extremely durable and good at retaining heat, but they’re also more expensive than comparable acrylic tubs. They’re extremely heavy, too, which makes installation difficult (ask your remodeling contractor if your floors need structural reinforcement to support the weight). Porcelain enamel coatings offer the widest variety of color options among bathtubs, but chipped finishes are difficult to repair.
  • Enameled steel: Generally made as a cheaper alternative to cast iron, allowing the look without the cost, these tubs chip more easily.
  • Copper: Although an expensive option, copper tubs can be ideal if you’re looking for something to match Victorian or rustic décor. Keep in mind that copper scratches easily and the metal achieves a patina with age.
  • Stone and wood: If you’re looking to make a unique statement in your bathroom, wood and  stone tubs are the way to go. However, they’re extremely expensive and difficult to clean and maintain. Plus, a wood tub is going to be prone to rotting and warping.

Features For Your Tub

Surprisingly enough, jetted bathtubs are not the rage they once were. Deb Dumel, showroom manager with Frank Webb’s Bath Center in Boston, says that’s because home owners are trying to save money and recognize that tubs, compared to showers, get less use. If they have the extra cash for features, they tend to spend it on fancy shower heads and sprayers instead.

Still interested in bells and whistles? Here are a few currently on the market:

  • Walk-in tubs are either freestanding or alcove type. They include a door that seals itself as the tub is filled, and have a built-in seat. These tall tubs are made to be used in the sitting position — not reclining — and are ideal for those with limited mobility; $2,500-$6,000.

Learn more about adding accessibility and universal design features to your bathroom.

  • Hydrotherapy includes soothing jets of water. The newest trend is the air bath, which emits tiny bubbles of air through small jets in the tub, providing a gentler overall body massage when compared to water-only jets. Hydrotherapy tubs run from $1,000 to $5,000, depending on the style.
  • Chromotherapy is the addition of underwater lights that turn your bath water into a pool of blue, pink, or purple. The colors are supposed to help create a relaxing bathing environment. You’ll pay an extra $300-$800 for this option.
  • Musical vibrations will tickle your fancy when you hook up your MP3 layer to sealed, waterproof speakers attached to the side of your tub. The acoustic bathing experience is yours as a $2,400 option.

Sizing Up Your Tub

Choosing a bathtub isn’t just about a soaking or jetted experience, and what kind of tub shape you consider fashionable. You also need a tub that suits your body — and your water heater.

“Don’t get an oversized tub you don’t need,” advises Dumel, who says she’s seen too many people buy tubs too large for their water heater to handle effectively. Here’s a quick reference guide:

  • A 40-50 gallon capacity tub requires a minimum 30-gallon water heater.
  • A 50-75 gallon capacity tub requires a minimum 50-gallon water heater.
  • A 75-gallon-plus tub requires a minimum 80-gallon water heater.

She’s also seen women 5 feet tall purchase gigantic tubs that don’t suit their frames.

Don’t be afraid to go into the bath store showroom and sit down in the tubs, advises Dumel. You do it for your mattresses; do it for your bathtub.


By: Deborah R. Huso:© Copyright 2015 NATIONAL ASSOCIATION OF REALTORS®


How to Remove Old Caulk

How to Remove Old Caulk

How to Remove Old Caulk in 4 Easy Steps

Step 1. Apply a caulk remover, such as 3M caulk remover or McKanica silicone caulk remover gel. Then be patient. Very patient. The directions say to wait 2 or 3 hours, but the longer you wait, the easier it will come off. Overnight is good. If it’s a particularly tough job — such as very old, hardened caulk or multiple layers — wait 24 hours.

While you’re waiting for the caulk to soften, browse our pictures of home improvements gone bad. They’ll inspire you to do the job right while tickling your funny bone.

Step 2. Use a caulk remover tool to pry the caulk loose. (See video below.) Pros use a utility knife or blade, but don’t be tempted unless your hands are as steady as a surgeon’s. Otherwise, you could damage the tub, sink, shower, or wall you’re trying to improve. Most of the caulk should come off easily in long strips, although you might need to use needle-nose pliers or tweezers to pull out some bits.

By the way, did you know that the word “caulk” originated from boat builders who needed something to seal their boats? Today, most manufacturers label home-use caulk as “sealant.”

Step 3. Using a small putty knife, toothbrush, and/or the hook end of a 5-in-1 painter’s tool (see picture below), scrape any remaining bits of caulk lose (this step, too, requires a bit of patience).

Step 4. Clean the surface using alcohol. Then kill any mold or mildew with a mixture of 1/3 cup bleach to 1 gallon of water. Allow to completely air dry (again, patience) before applying new caulk.

TIP: If you’re planning to re-caulk a tiled shower or bathtub wall, deep clean the tile before you remove the old caulk. Soap scum and other surface grime can inhibit the caulk’s ability to adhere. You don’t want water to get behind the tile and into your wall, which can create a nasty mold and mildew problem.

By: Lara Edge: © Copyright 2015 NATIONAL ASSOCIATION OF REALTORS®

Remove Stains From Walls Before You Paint

Remove Stains From Walls Before You Paint

Dirt and Grime

Dirt and grime are part of everyday life. The oil from your hands gets onto walls, cabinets, doors, and door frames. A Mr. Clean Magic Eraser ($3 for 4 pads) easily cuts through these stains. Wet the sponge and rub gently to avoid taking bits of paint off with the stain.

Or try this: Mix 1 cup ammonia, 1/2 cup white distilled or apple cider vinegar, and 1/4 cup baking soda with one gallon of warm water. Wipe the solution over walls with a sponge or cloth, and rinse with clear water. The solution won’t dull the painted finish or leave streaks.

Grease

Grease is an occupational hazard of cooking; it covers cabinets and walls and attracts dirt and dust. Any good dish soap can remove grease stains on walls. For small stains, mix 1/4 teaspoon of soap in a cup of warm water, and wipe. Rinse with clean water, and blot until dry. Clean stubborn grease stains with solution of 1/3 cup of white household vinegar with 2/3 cup of water.

Crayons

Wall erasers work like a charm on crayon marks. If they don’t do the trick:

  • Rub marks with toothpaste (not gel).
  • Erase marks with an art gum or a pencil eraser; use a circular motion.
  • Swipe marks with baby wipes.
  • Sprinkle baking soda on a damp sponge and scrub marks.

Permanent Marker

Permanent markers are tough to remove from walls. Soak a cotton ball with rubbing alcohol and dab the stain. Or spray marks with hairspray, then wipe drips.

Ink

Ballpoint ink, which is oil-based, often succumbs to foaming shaving cream, dry-cleaning solvents such as Carbona, or nail polish remover. Make sure you open windows when using cleaning solvents and polish remover.

Mildew

Mildew is a fungus that eats soap scum and body oil. To remove from walls, spray with vinegar water: 1 tablespoon white vinegar to 1 quart water. Also, try an enzyme laundry detergent; follow the pre-treating directions on the label. Blot it on the stain, and then rinse thoroughly with water.

Water Stains

After you’ve solved the problem that caused the water stains, rinse with a solution of 1 cup bleach to 1 gallon of water to prevent mold and mildew from growing. Thoroughly dry with a hairdryer or fans. If bleaching doesn’t remove water stains, you’ll have to repaint. Prime the walls with a stain-killing primer, such as Kilz Paint.

Related:

  • 7 Things You Should Paint Instead of Replace to Save Money
  • Repair Walls to Give Rooms a Fresh Face


By: Pat Curry:© Copyright 2015 NATIONAL ASSOCIATION OF REALTORS®


Kitchen Countertop Triage: First Aid for Scratches

Kitchen Countertop Triage: First Aid for Scratches

Repair kitchen counters that show a history of wine spills, dropped pans, and unidentified sharp objects, and you’ll maintain the value of your kitchen and home. You can easily hide some counter mishaps, while only professional contractors can solve other surface problems. Here’s a look at counter cures and lost causes.

Granite

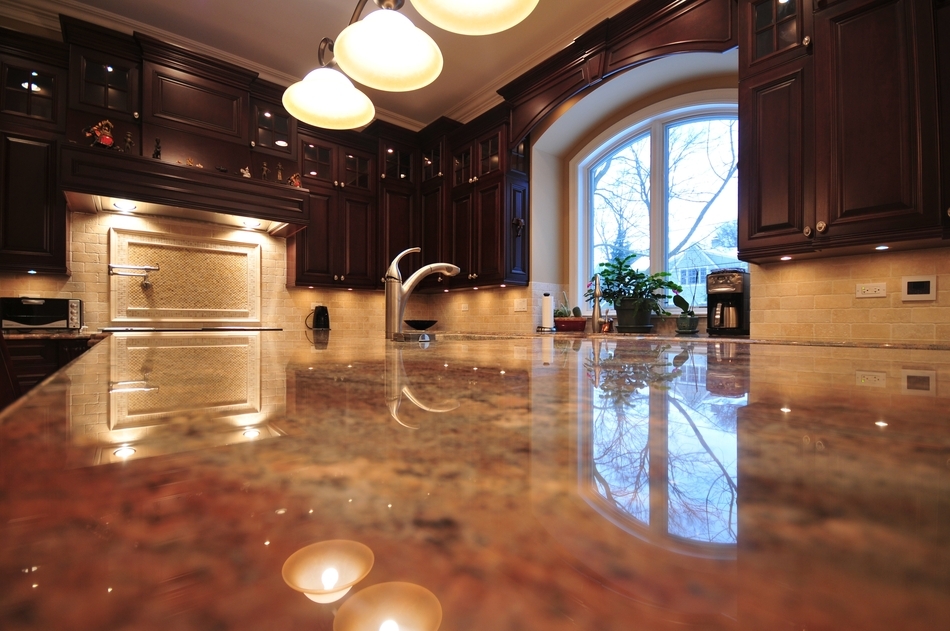
Even granite counters suffer kitchen wear and tear. But you can make them shine with a little time and know-how. After you fix them, don’t forget to reseal them.

Cracks, chips, scratches: Fill nicks in granite by building up layers of epoxy resin colored to match the stone. Clean the area first with acetone, which breaks down grease. Be sure to open a window for ventilation.

Stains: The type of stain — wine or ink, oil or bleach — determines the type of poultice you’ll need to suck it out. A paste of flour and hydrogen peroxide pulls out grease, oil, bleach, and ink stains; a mix of flour and bleach cleans wine stains. If you want to go commercial, check out Alpha, Aqua Mix, and StoneTech stone cleaners. Cost: $6 to $20.

Related: Can Granite Film Fool the Eye?

Solid-Surface Counters

Solid-surface countertops, such as Corian, are man-made from resin, acrylic, and other materials. They’re tough but not impervious to scratches and stains. To repair minor scratches, rub a white polishing compound on the area with a wool pad, then apply a countertop wax.

For deeper scratches or cuts, call a professional. Figure labor costs at about $15 to $35 an hour. If you need to replace portions of the counter, figure at least $35 to $65 per square foot.

Laminate

Fixing gouges or covering burns in laminate is tough for mortals, though repairing minor problems is doable.

  • Fix small chips with laminate repair paste that matches the color of the countertop.
  • Cover scratches with countertop polish or car wax.
  • Fix peeling laminate with contact cement applied to both surfaces and pressed back into place.
  • Remove coffee and tea stains with vinegar or a paste of baking soda and household cleaner.

Bigger problems will require replacing the damaged stretch. Laminate comes in a billion colors, but finding an exact match for an old counter could be difficult.

To get the look you want, replace the counter. Labor will cost $15 to $35 per hour; countertops range from $3 per linear foot for Plain Jane straight-edged laminates to $100 per linear foot for laminates with a beveled edge that look like granite.

Related: Why Laminate Countertops Deserve a Second Look

Tile

If you’ve planned ahead and stockpiled old tiles, then grab a few and replace cracked or scratched areas. If you don’t have extra tile, then attempt the following first aid:

  • Wipe away scratches with a dab of toothpaste on a clean cloth.
  • Work epoxy glue into cracks with a toothpick, then color with matching oil-based artist paint.
  • Remove old grout with a utility knife, then replace with a rubber trowel.

Stainless Steel

Stainless steel countertops become scratched, stained, and dull over time. Although you’ll never completely remove scratches, you can buff them into a warm patina by massaging with vegetable oil.

Remove stains with a paste of baking soda and dish soap. A sprinkle of Barkeeper’s Friend will remove stains without scratching.

Related: 99-Cent Store Solution for Scuffed Countertops


By: Jane Hoback:© Copyright 2015 NATIONAL ASSOCIATION OF REALTORS®


The owner of this website has made a commitment to accessibility and inclusion, please report any problems that you encounter using the contact form on this website. This site uses the WP ADA Compliance Check plugin to enhance accessibility.