With so many patio stones on the market, it can be hard to choose. So we’ve done the research to help you make the right choice for your home.
Brick
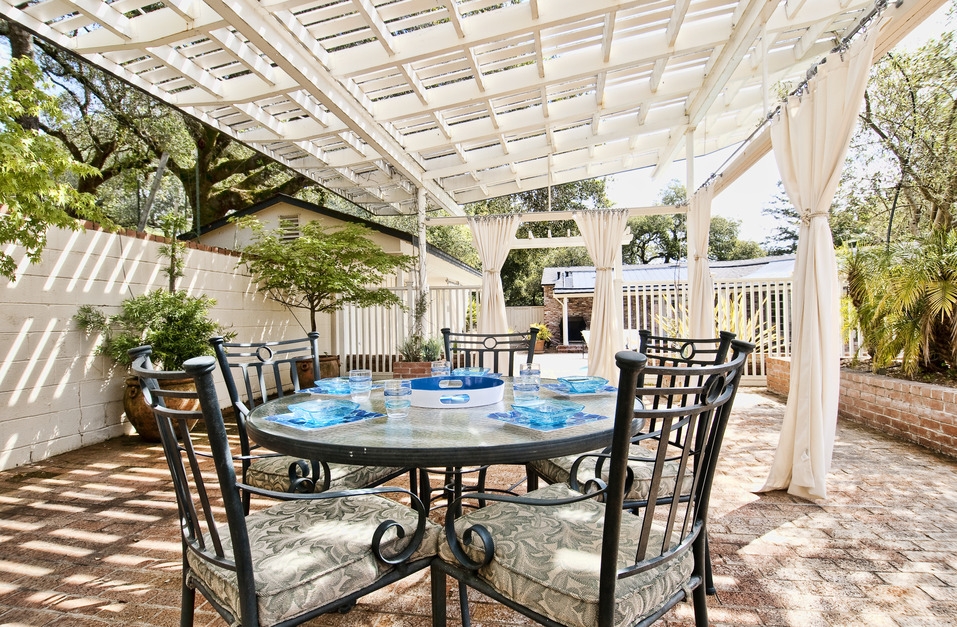
Brick pavers are classic. They’ve got lots of character, and you can explore your creative chops by setting them in intricate patterns. Thinner than typical “builder bricks” used on home siding, they’re made to hold up under heavy foot traffic.
Brick pavers come in a variety of shapes, sizes, colors, and finishes, and can look old or new. Because they’re smaller than other pavers, they take a while to put in place, and installation costs can be higher.
You can do the job yourself for $3 to $5 per square foot. You’ll need to rent a brick saw — a heavy table-mounted saw that makes cutting masonry a snap. Cost: $60 to $95 per day. Don’t forget: You’ll need to figure out a way to get the brick saw to your house.
For a pro-installed brick patio, you’ll pay $12 to $18 per square foot, professionally installed.
Concrete
Concrete Pavers
Rubber Tiles
Flagstone, Slate, and Marble
Decomposed Granite and Pebble Surfaces
Finding Your Own Recycled Materials
Mixing Materials
Getting on Base
Concrete
Concrete can be finished off in lots of imaginative ways — brushed, acid washed, scored, and stamped — and lots of colors. Its long lifespan and relatively inexpensive installation make it a popular choice.
“For colder climates, consider adding $1 to $2 per square foot for a specialized base preparation and concrete additive,” says Chris Fenmore, principal with Garden Studio Landscape Design.
Stamped concrete can simulate flagstone, brick, cobbles, and other decorative patterns, but adds about $3 per square foot to installation costs.
Figure $6 to 12 per square foot, depending on finish and color.
Brick
Concrete Pavers
Rubber Tiles
Flagstone, Slate, and Marble
Decomposed Granite and Pebble Surfaces
Finding Your Own Recycled Materials
Mixing Materials
Getting on Base
Concrete Pavers
Concrete pavers offer an embarrassment of riches — there are shapes, sizes, textures, and colors galore. Some are plain; some look like real stone; others have intricate patterns embossed on their surfaces. They’re readily available at home improvement centers and are well-suited to DIY patio projects.
Interlocking concrete pavers have tabs and slots so they fit together like pieces of a very simple puzzle. They’re fairly inexpensive, have minimal maintenance, and install quickly.
Concrete pavers are $2 to $8 per square foot. If you’d rather have a pro do it, you’ll pay $7 to $15 per square foot, including materials.
Brick
Concrete
Rubber Tiles
Flagstone, Slate, and Marble
Decomposed Granite and Pebble Surfaces
Finding Your Own Recycled Materials
Mixing Materials
Getting on Base
Rubber Tiles
Rubber tiles are made from recycled tires. They’re designed to go over any surface, and their light weight means you can use them on decks. They look like concrete tiles, with finishes that resemble brick and terra cotta. They’re fairly new on the market, so the jury is still out on how they perform over time.
Rubber tiles are strictly a DIY material, and they snap together with connector clips. They’re good for quickly covering up old, cracked, worn patio surfaces. You’ll pay $3 to $5 per square foot.
Brick
Concrete
Concrete Pavers
Flagstone, Slate, and Marble
Decomposed Granite and Pebble Surfaces
Finding Your Own Recycled Materials
Mixing Materials
Getting on Base
Flagstone, Slate, and Marble
Almost any stone can work as a paver, but most are either sandstone, limestone, slate, or granite. The materials you select will be especially cost-efficient if they come from locally operated quarries; check your local stone supplier before looking at national home improvement chains.
Stone pavers are cut into modular shapes; 6-by-12, 12-by-12, and 18-by-18-inch sizes are standard. Uncut pavers have rough, irregular edges and come in various sizes.
When it comes to installing uncut stone, an experienced pro works quickly and is your best bet for a good-looking patio with even spaces between stones.
Pro installation is $12 to $28 per square foot, depending on the stone you choose.
Want to see some stone patios that really rock?
Brick
Concrete
Concrete Pavers
Rubber Tiles
Decomposed Granite and Pebble Surfaces
Finding Your Own Recycled Materials
Mixing Materials
Getting on Base
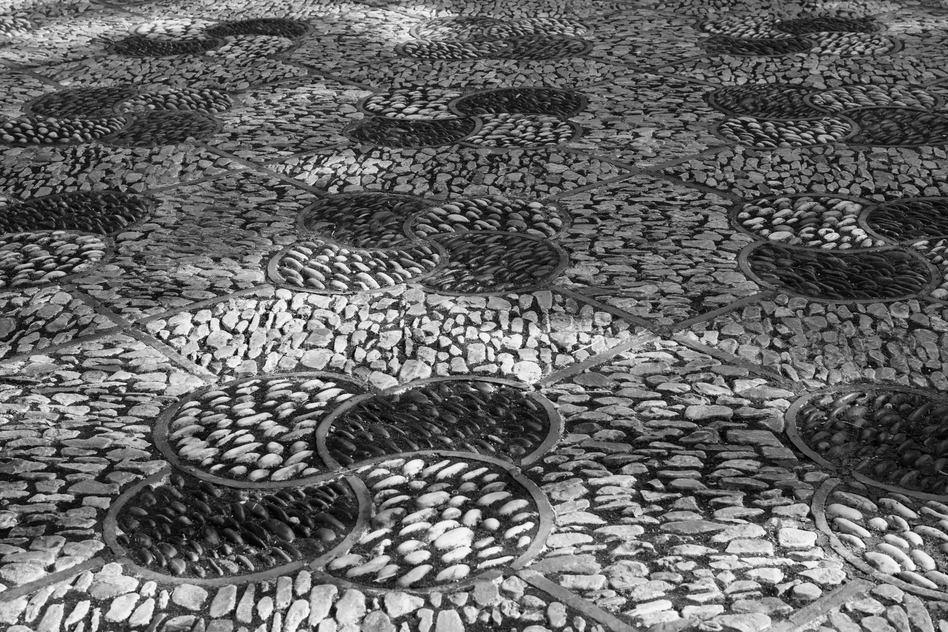
Decomposed Granite and Pebble Surfaces
Decomposed granite is made up of very small pieces of granite, ranging in size from 1/4-inch to the size of sand. It’s an affordable way to go, and some folks really love the slightly crunchy texture underfoot, and the way rain disappears — no puddles!
You’ll probably have to refresh and replenish the granite now and then, as the surface can erode with time, so there’s some preventative maintenance involved. Figure about $1 per square foot every three years for upkeep.
Also, decomposed granite isn’t solid and furniture legs tend to sink into the stones. Adding stabilizers that help bind particles together can strengthen the surface.
Cost: $1.50 per square foot without stabilizers, $2 with stabilizers.
Brick
Concrete
Concrete Pavers
Rubber Tiles
Flagstone, Slate, and Marble
Finding Your Own Recycled Materials
Mixing Materials
Getting on Base
Finding Your Own Recycled Materials
Like the idea of upcycling? A patio is a good way to reuse old building materials, and it’s a cost-effective and eco-friendly alternative to new materials. Plus, you’ll be building a one-of-a-kind creation. Tip: Look for materials that provide uniform thickness.
- Cast-off concrete sections from a neighbor’s old driveway or sidewalk.
- Check nearby construction sites for old materials — be sure to ask permission before hauling anything away.
- Know of a building scheduled for demolition? See if there’s any old brick or stone is going to be discarded.
Although the materials are usually free, it’s a good idea to enlist some strong-backed helpers and the use of a pick-up truck. For a typical 12-by-12-foot patio, you’ll save $500 to $800 versus new pavers. Spend some of that on a patio party for your helpers.
(If you’re a salvaged materials aficionado, check out our slideshow on clever ways to use salvage in your home.)
Brick
Concrete
Concrete Pavers
Rubber Tiles
Flagstone, Slate, and Marble
Decomposed Granite and Pebble Surfaces
Mixing Materials
Getting on Base
Mixing Materials
Remember, you’re not stuck with one type of patio paver. Combining different materials — such as brick together with concrete, or stone with rock trim, can create a cool, customized look.
Southern California designer Chris Fenmore notes, “Too much hardscape can be tedious. I often like to use four-inch troughs separating masonry from concrete that can be filled with gravel, beach rocks, or ground cover. They provide a bit of relief from the hardscape and nice detail, adding to the custom look of the yard.”
Brick
Concrete
Concrete Pavers
Rubber Tiles
Flagstone, Slate, and Marble
Decomposed Granite and Pebble Surfaces
Finding Your Own Recycled Materials
Getting on Base
Getting on Base
Choosing paving materials begins with a basic: the base or foundation. The base supports your pavers, and it’s got to be firm, strong, and designed to stand up to years of wear and weather. A poorly installed base leads to shifting and settling that’ll crack concrete and make your patio pavers look like choppy seas.
A sand-and-gravel base is a good DIY project; leave a concrete slab base to the pros.
A gravel and sand base is a simple foundation that lets you “dry set” pavers — you put the pavers on top of the base, then sweep fine sand into the joints to hold them there. Building a gravel-and-sand base is an easy (but time-consuming) DIY project. You’ll pay $2 to $3 per square foot for a DIY job. If you’d rather have a pro do the work, figure $3 to $5 per square foot.
With a sand or gravel base, chances are there’ll be some settling over time. Every couple of years, plan on resetting individual pavers that have gotten out of whack because of settling.
A concrete base offers greater longevity and stability, with less potential for settling. On a concrete slab base, the paving materials are set permanently with mortar, and ongoing maintenance is minimal.
Working with concrete is a challenge for weekend warriors, so skip experimentation (mistakes in concrete are permanent) and go with a pro. You’ll pay $5 to $8 per square foot for a professionally installed concrete base.
If you’re a fan of concrete, check out these imaginative ways to use concrete inside your house.
Brick
Concrete
Concrete Pavers
Rubber Tiles
Flagstone, Slate, and Marble
Decomposed Granite and Pebble Surfaces
Finding Your Own Recycled Materials
Mixing Materials