Sometimes what seems like a good idea at the time just isn’t. Get tips from these DIY projects that didn’t go so well.
Finishing a DIY project feels amazing: Not only can you impress your friends, but you can spend every day walking by your masterpiece, gleaming with pride.
Unless DIY becomes DI-why?, that is. Even the most practiced do-it-yourselfers sometimes find themselves in the middle of projects that aren’t going according to plan. Don’t feel badly about the organizational system that fell over in your garage or the crooked tiling in the basement. It happens to everyone. Here’s proof.
Misunderstanding the Project Scope
Washington, D.C., homeowner Dave Coulon took on the task of making his own kitchen cabinets against the advice of his contractor friend, who told Coulon, “I’ll see you in two years.”
Coulon’s no DIY novice — he’s a shop teacher and has worked on his home’s dishwashers and toilets. Still, his friend’s words proved prophetic. The project was more than Coulon bargained for in more ways than one: Not only did it require a technical know-how beyond his ability, it required more physical space than was available in his home.
So while he was aiming to create a kitchen full of fancy, self-closing cabinets, he ended up with a crowded maze of poorly engineered, half-completed ones in his basement.
“I did the cabinets because I wanted to do it, but I would definitely not bother to make them again,” he says.
Related: How Hard is It to Install IKEA Cabinets?
Allowing a Renovation to Snowball
When a small project grows bigger and bolder, it can be painful to your budget and your schedule. Blogger Tanya of “Dans le Lakehouse” says most often, when her projects go awry, it’s due to snowballing beyond her original plans.
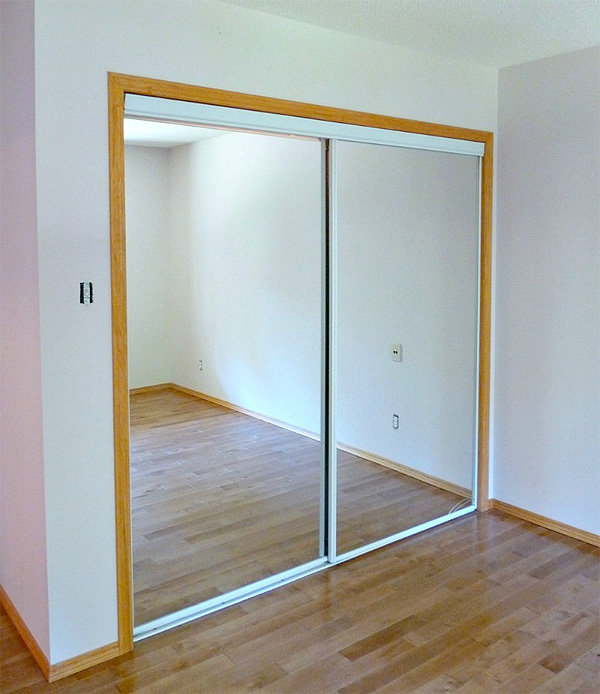
That’s what happened when she was changing the closet doors in her bedroom.
 Image: “Dans le Lakehouse”
It was a presumably simple project that led to removing a closet organizer, then replacing newly discovered damaged flooring, then painting the entire closet bright orange — and ended with Tanya dropping $800 on new doors.
“We did run out of funds, energy, and time, so we patiently waited a year to save up for new closet doors,” she says. Eventually, they splurged on pretty white glass sliding doors, “so I can’t complain.”
How can you avoid a DIY project that soaks up more time, energy, and resources than intended? “Start with a lot of work reflection,” Tanya says.
Though the closet project was more than she bargained for, it was important to take the time to do it right once the additional issues were discovered.
“It’s best not to run away from the problem,” she says.
Skipping the Research
See a project on Pinterest or a blog that looks tempting? Don’t dive right in without researching the materials and how-to. Kerry Bindernagel, one half of the husband-and-wife DIY duo behind “Burritos and Bubbly,” learned this lesson the hard way.
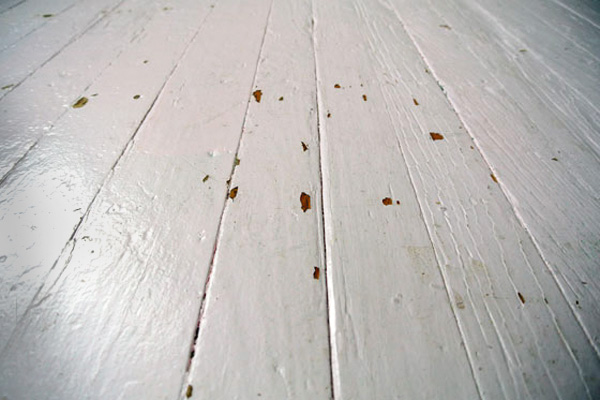
Like many homes built in 1890, the Bindernagel home featured painted wooden floors. Unhappy with the color — not to mention the chipped paint — they decided to go bold and paint their hardwood office floors pink. But they skipped a key step: They didn’t research anything about how to paint wood floors.
“And we did a horrible job,” Bindernagel says.
Assuming painting a floor was just like painting a wall, they purchased a cheap can of white floor paint and mixed it — by hand — with pink. After a quick sweep of the broom and swipe of the paint roller, they were done.
Until it chipped.
 Image: “Burritos and Bubbly”
“Every time we’d move a piece of furniture or even push a chair back from the desk, the paint would stick to the furniture and peel,” Bindernagel says. “It turns out painting a wood floor isn’t the same as painting a wall.”
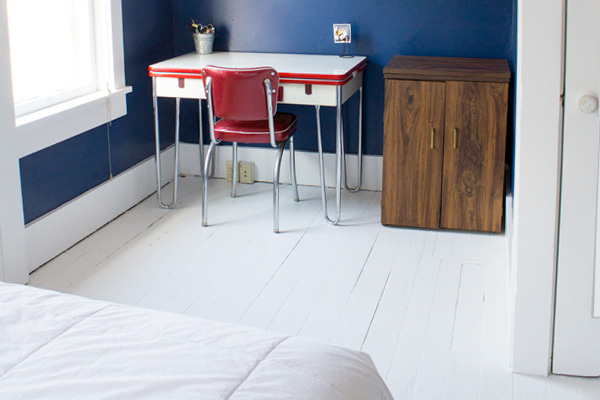
Their second try — four years later — was more successful.
“We read every single thing we could find about how to paint wood floors,” she says. “We sanded and vacuumed and washed and primed and painted by hand.” The paint was more expensive; they used three coats both of primer and color, waiting 24 hours for it to dry between each.
 Image: “Burritos and Bubbly”
“It was annoying and difficult and a giant pain, but we learned that investing more time and effort and research made all the difference,” Bindernagel says.
Related: 5 Affordable DIY Flooring Ideas
Discovering the Devil in the Details
DIY is hard work. While some people have endless patience for tedious projects, sometimes it’s best to recognize when the drudgery isn’t for you.
Chelsea Mohrman of “Farm Fresh Therapy” recalls such an ambitious project: hand-stamping — with a potato.
“It was a very easy, yet tedious project,” Mohrman says. It becomes boring fast, and every repetitive motion you make is an opportunity to screw up. The project required cutting a slippery potato into small triangles, dipping them in paint, and carefully stamping them onto a shower curtain — again and again and again.
The end result might be stunning, but Mohrman isn’t sure it was worth all the work. Luckily, her project was just a shower curtain, but the hard-learned lesson can translate to bigger projects. If you’re considering hand-stamping a wall — or even taking on another project that requires repetitive steps, like tiling a floor or refinishing a kitchen full of cabinet doors — be prepared to be meticulous and dogged, and consider if such a detailed DIY is worth the mind-numbing effort.
“I dropped my potato more times than I can count and failed to keep my cat out of the studio,” Mohrman says. “Never again!”


